
Planning to create your own visual content for your blog?
Trust me – it’s a lot easier than it seems.
Today, I’ll show you some of the best image editing and graphic design tools that don’t even require a download.
I know you’re excited, so let’s get right to it.
7 Best Image Editing Tools For Bloggers
7 Best Image Editing Tools for Bloggers
1. Canva

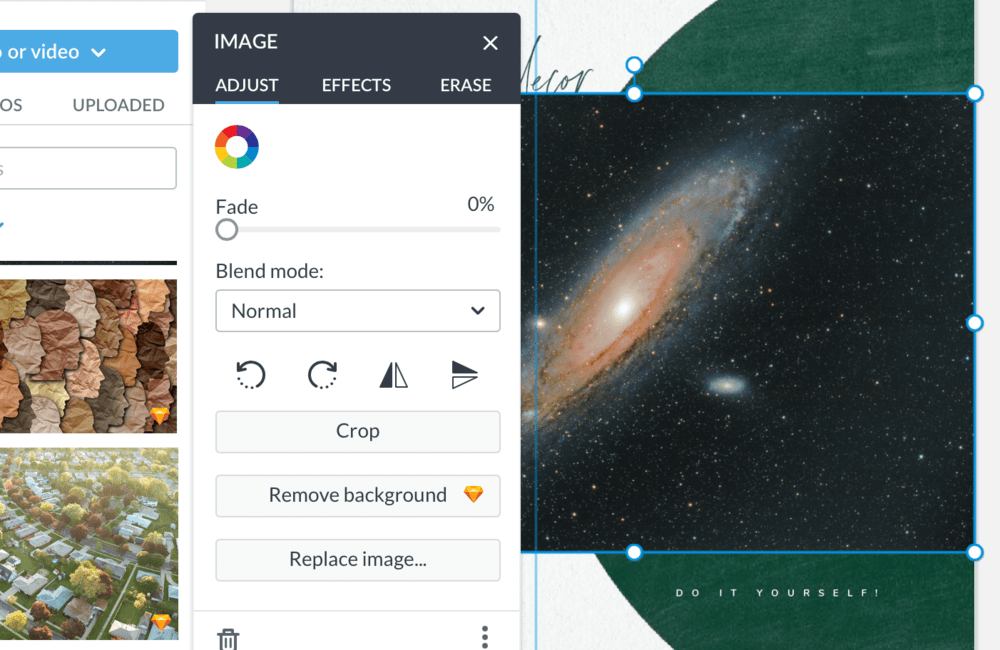
Confession time: I’ve been having a lot of fun with Canva over the past several months.
In case you didn’t know, I’ve experienced using a handful of different graphic design tools over the years. I even used Adobe Illustrator to create graphics for a few months.
And despite what these high-caliber tools bring to the table, I ended up with a Canva Pro subscription.
How to use Canva?
With Canva, you don’t need to spend hours reading tutorials to create professional-looking graphics for your blog.
Just visualize the design you need, piece together elements from the sidebar, and download your work.
The fluid, drag-and-drop interface gives you total freedom over your design – no extensive learning needed.
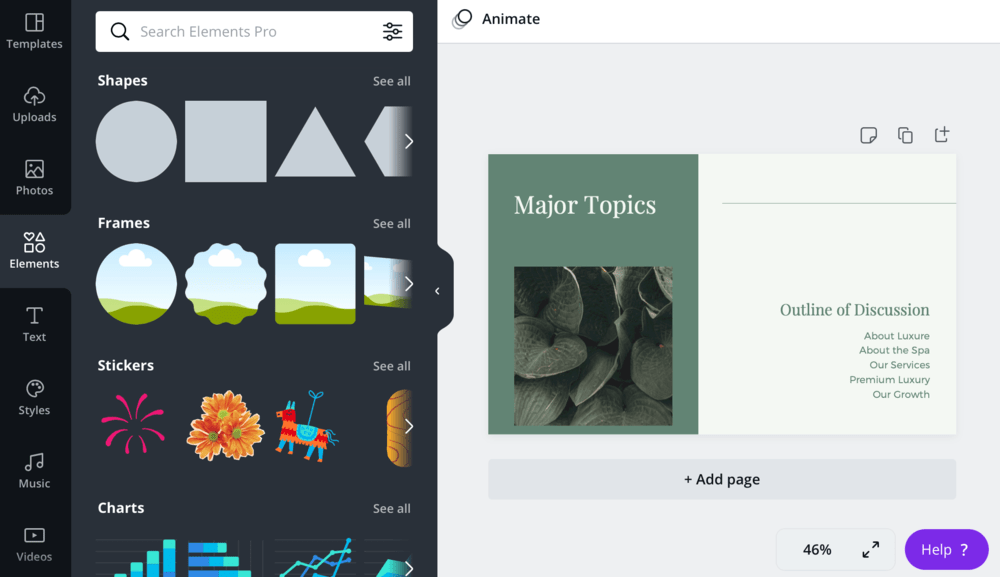
After a while of using Canva, you’ll soon be familiar with some advanced features under the hood. You can play with image filters, use text effects, build data visualizations, insert animations, and more.

How much does Canva cost?
You can use the base version of Canva for free without a time limit. But if you want the “Pro” version, it’ll cost $12.95 per month or $9.95 per month with annual payments.
2. Visme

Visme is another graphic design tool I’ve spent a lot of time with.
It’s equipped with features that will help you create infographics, data visualizations, videos, and visual-filled documents.
How to use Visme?
Just like Canva, Visme features a drag-and-drop interface that even non-designers can learn within minutes.
Pick from truckloads of icons, images, and data widgets to easily build visuals packed with information.

Of course, you can give your design a headstart by using a pre-built template. There are over 50 charts and maps you can use to turn boring numbers into brilliant graphics.
How much does Visme cost?
Visme also has a free version, but you’re limited to only five projects per account and JPG-only downloads. The standard version costs $15 monthly, but to create unlimited projects, you need a “Business” plan for $29 per month.
3. Stencil

Stencil is a graphic design tool that focuses on usability.
It comes with features that enable the creation of ad banners, featured images, and social media graphics within seconds.
How to use Stencil?
If you’re interested in Stencil, you’ll be pleased to know that its top features center around simplifying the design process.
You can use Stencil as a browser extension or WordPress plugin – ensuring your design is seamlessly weaved into your workflow.

When working on designs, simply pick from loads of readily available stock photos, icons, and custom fonts. I’m quite impressed with its collection of quotes that allow you to share bits of inspiration in visual form.

How much does Stencil cost?
Stencil’s “Pro” plan costs only $9 per month, but you’re only limited to 50 images monthly. If you want to create unlimited images, get the “Unlimited” plan for $12 a month.
Of course, Stencil also offers a free version so you can give it a test run. However, it only allows you to save up to 10 images each month.
4. PicMonkey
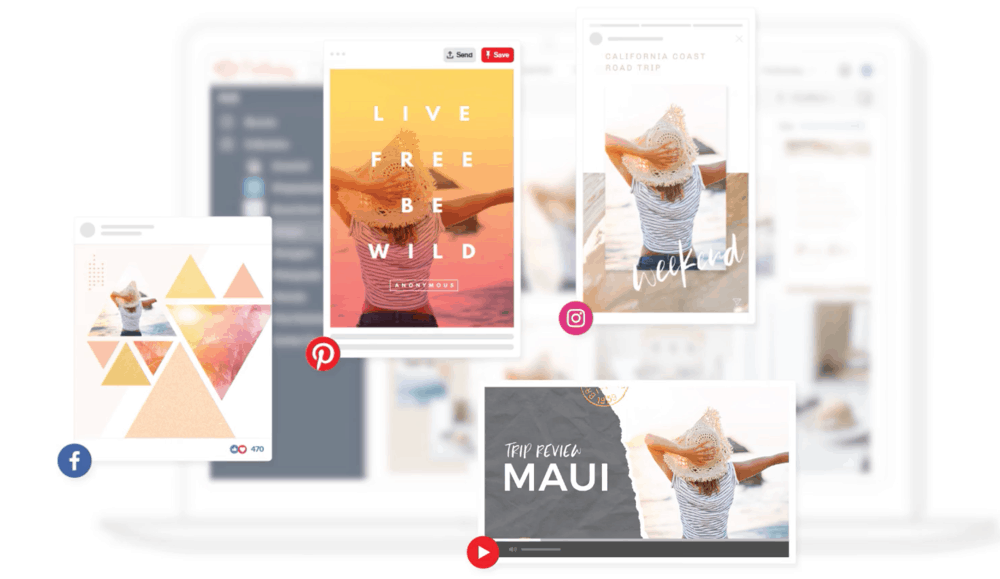
For bloggers who want to create eye-catching visual content for social media, PicMonkey is a solid choice.
Its feature set prioritizes the creation of beautiful images for networks like Instagram, Facebook, and Pinterest. If you’re also growing a YouTube channel, you can use PicMonkey to craft professional thumbnails for your videos.
How to use PicMonkey?
With PicMonkey, combining templates, fonts, and photos is the name of the game.
There will be thousands of graphics, textures, fonts, and stock photos at your disposal.
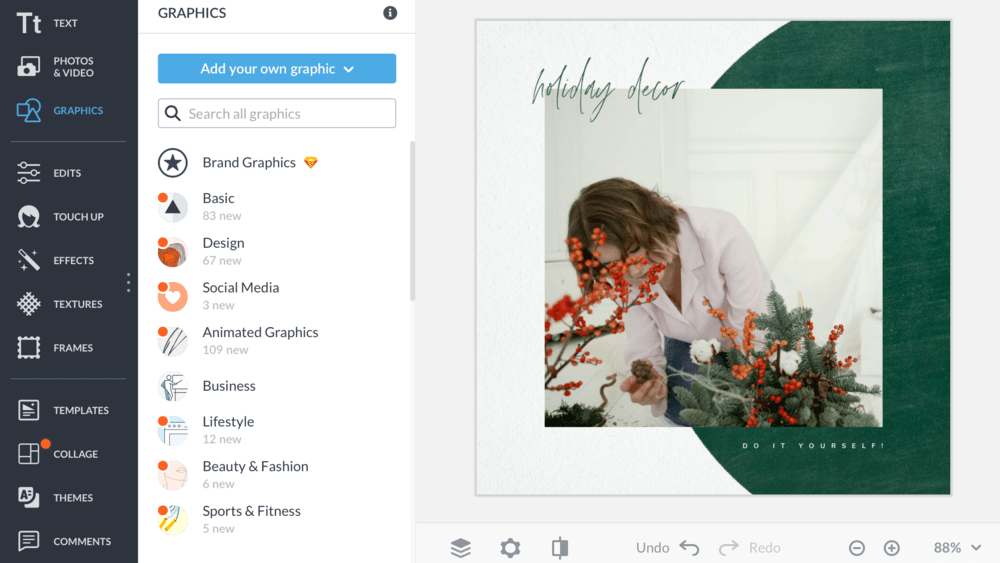
PicMonkey also has great image editing features to make even the most generic stock photo look original. You can remove a photo’s background, add image effects, apply filters, and more.
How much does PicMonkey cost?
The entry-level PicMonkey subscription costs $7.99 per month. If you want to save PDFs or upload your own fonts, you’ll need the “Pro” subscription, which costs $12.99 monthly.
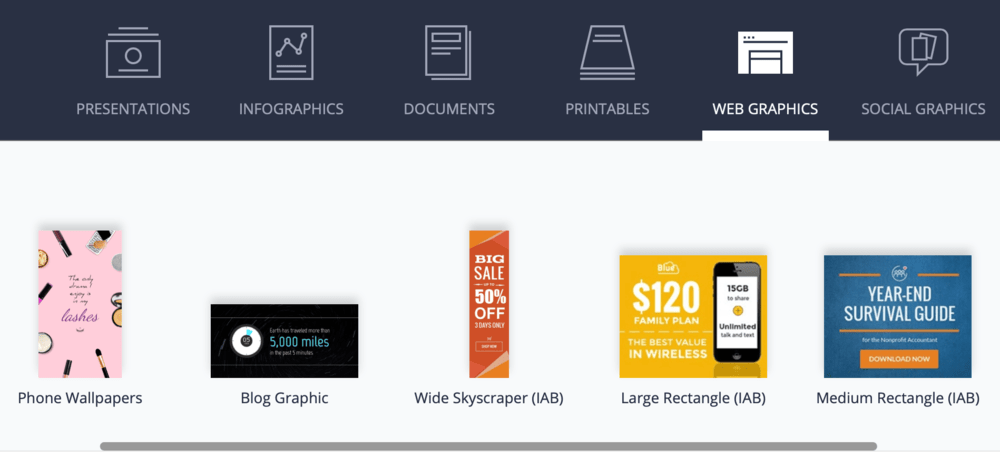
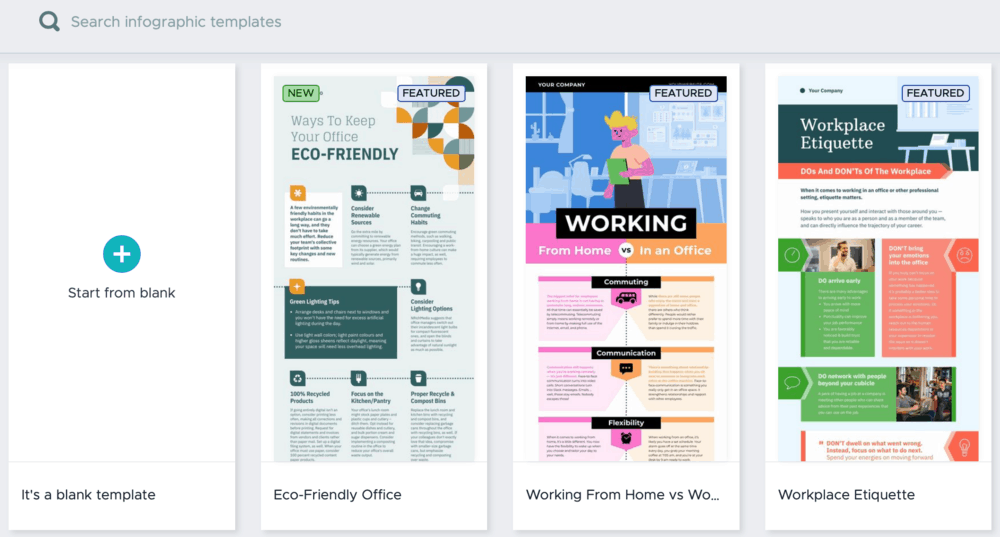
5. Venngage
Venngage is a browser-based graphic design tool with powerful features but a simple philosophy:
There are only three steps to creating compelling infographics: picking a template, combining visual elements, and customizing your design.
The app succeeds here by providing a user-friendly interface that streamlines the whole design process.
How to use Venngage?
Venngage has a diverse library of templates for posters, social media images, reports, infographics, and promotional visuals.
You start by picking a template that matches your objectives and adding in the elements you need – one by one.
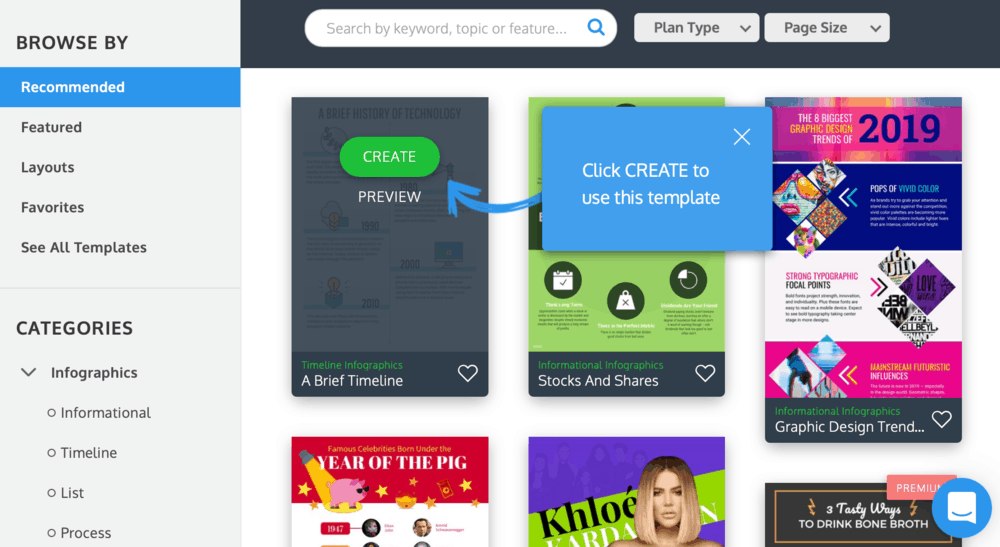
Once you’re happy with your graphic’s layout and content, you can easily customize your design using built-in controls. You can pick your own colors, apply your own fonts, and freely adjust the positioning and scale of elements.

How much does Venngage cost?
Take note that Venngage’s free version is only good for checking out how the tool works. To create publish-worthy graphics, you need the “Premium” version for $19 monthly or the “Business” plan for $49 monthly.
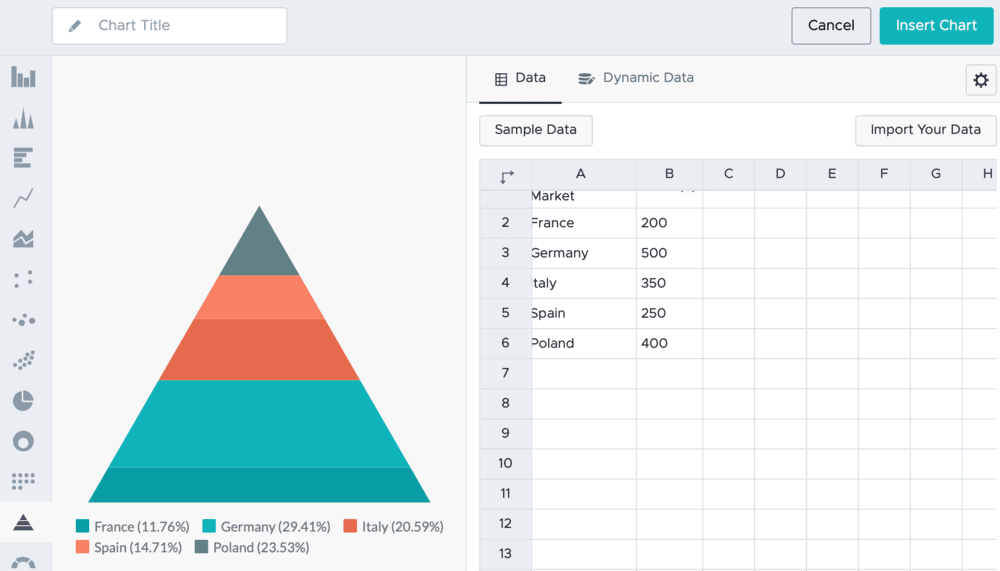
6. Piktochart
If you’re interested in creating data-rich infographics and downloadable reports, Piktochart is a good option.
Piktochart is built to help turn in-depth information into engaging visuals in various formats. Simply use one of their professionally designed templates and drop in your information.
How to use Piktochart?
Picking a great template is the first step towards building visuals with Piktochart.
Templates are fully customizable so you can easily incorporate your brand colors, typography, and even logos
Another useful feature is the ability to link an Excel or Google Sheets document. This allows you to build beautiful graphs and other data visualizations with ease.
How much does Piktochart cost?
Piktochart has a free version that lets you create and save up to five visuals at a time. To create unlimited visuals, you need to get the “Pro” version at $29 per month.
7. Vectr
Vectr is a different kind of browser-based graphic design software.
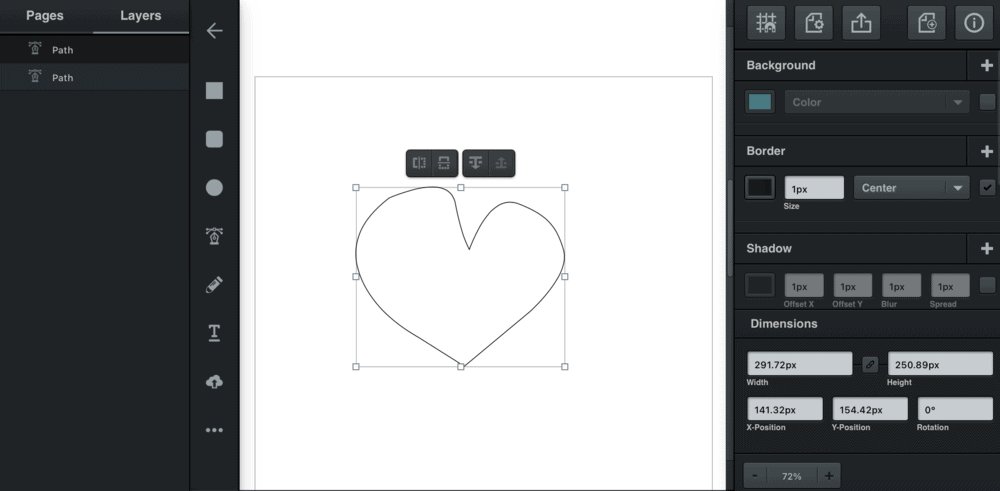
Rather than letting you use pre-built elements like icons and arrows, it lets you build your own vectors from scratch.
I recommend using this tool in combination with another graphic design app. Canva, for example, allows you to upload the graphics you designed on Vectr.
How to use Vectr?
Vectr makes the vector design process easy-peasy through the intuitive and clutter-free interface.
You can start with a shape, be it a circle, rectangle, or rounded rectangle. If you want a more unique shape, you can use either the pen or pencil tool.
Of course, designing your own vectors has a much steeper learning curve than simply putting together pre-made shapes. But once you master this skill, you can start creating amazing graphics for your blog without a professional designer.
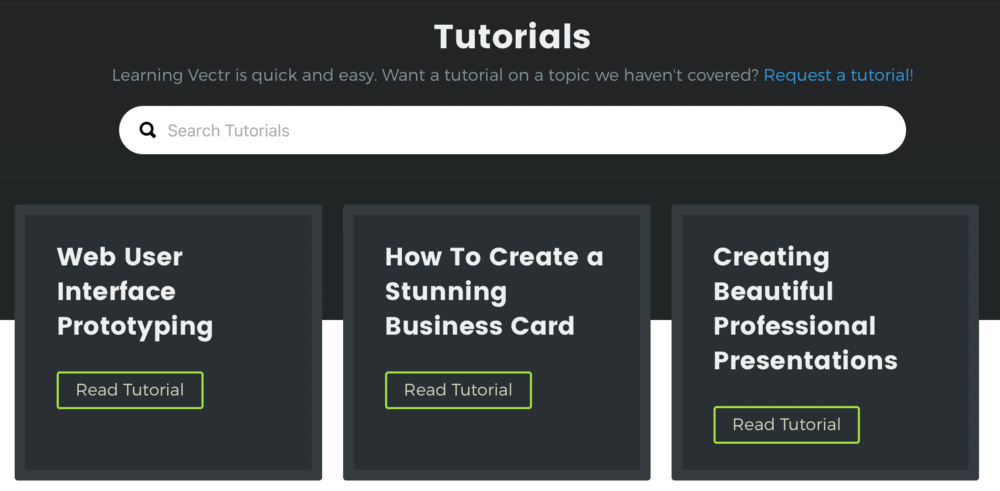
Besides, Vectr comes with a comprehensive library of tutorials for beginners. Read each one and you should be building vectors like a boss in no time.
How much does Vectr cost?
Vectr is currently free, but there’s a possibility of a subscription-based service in the future.
My Personal Recommendations
Still not sure which image editing software to get?
Rest assured that all of the tools above are great in their own way. If you need more help in picking the one for your blog, here are my personal recommendations for you:
- Canva – The best, all-around graphic design tool for beginners and bloggers.
- Visme – Provides the most convenient way to create data-driven visuals like infographics and charts.
- PicMonkey – Perfect for editing images and creating social media posts.
Conclusion
Creating visual content for your blog doesn’t require a degree in graphic design.
With the right tools, anyone can whip up a professional-looking graphic within minutes. You just need to pick a platform that suits your needs and has an interface you’re comfortable with.
What did you think of the list above?
Did I miss any image editing tool that you personally enjoy?
For any suggestions, feedback, and questions, don’t hesitate to leave a comment below.
I’ll be waiting to hear what you think!
PicMonkey is the perfect pick for https://zenithclipping.com/photo-editing-services-for-photographers/ for iPhone or Android. You can edit your photos, crop and add touch-ups to mention only a couple of its features. It is the ideal solution for everyone. By the way, you can also use other photo editing tools instead of PicMonkey. Thank you for sharing this post.
ReplyDeletePost a Comment